Symmetry is generally important in spaceship design – at least as far as I have seen – so I want to provide a quick post about working with the mirror function in Blender. Here’s how:
- Center the object you want to work with
It is best to start with a simple object, like a cube, sphere, etc.
Center the cursor on the object too. Just to eliminate any potential issues. - Hit “1” on the numpad.
- Hit CTRL + R to split the object down the center. Left click to confirm.
- Hit TAB to open edit mode. Make sure you have the vertices selection option selected .
- Hit CTRL + Z to bring up wireframe mode.
- Hit B to bring up the box selection option. Highlight all the vertices to the right of the central line you just created by splitting your object. Do not select this central line.
- After the vertices are selected, hit DELETE.
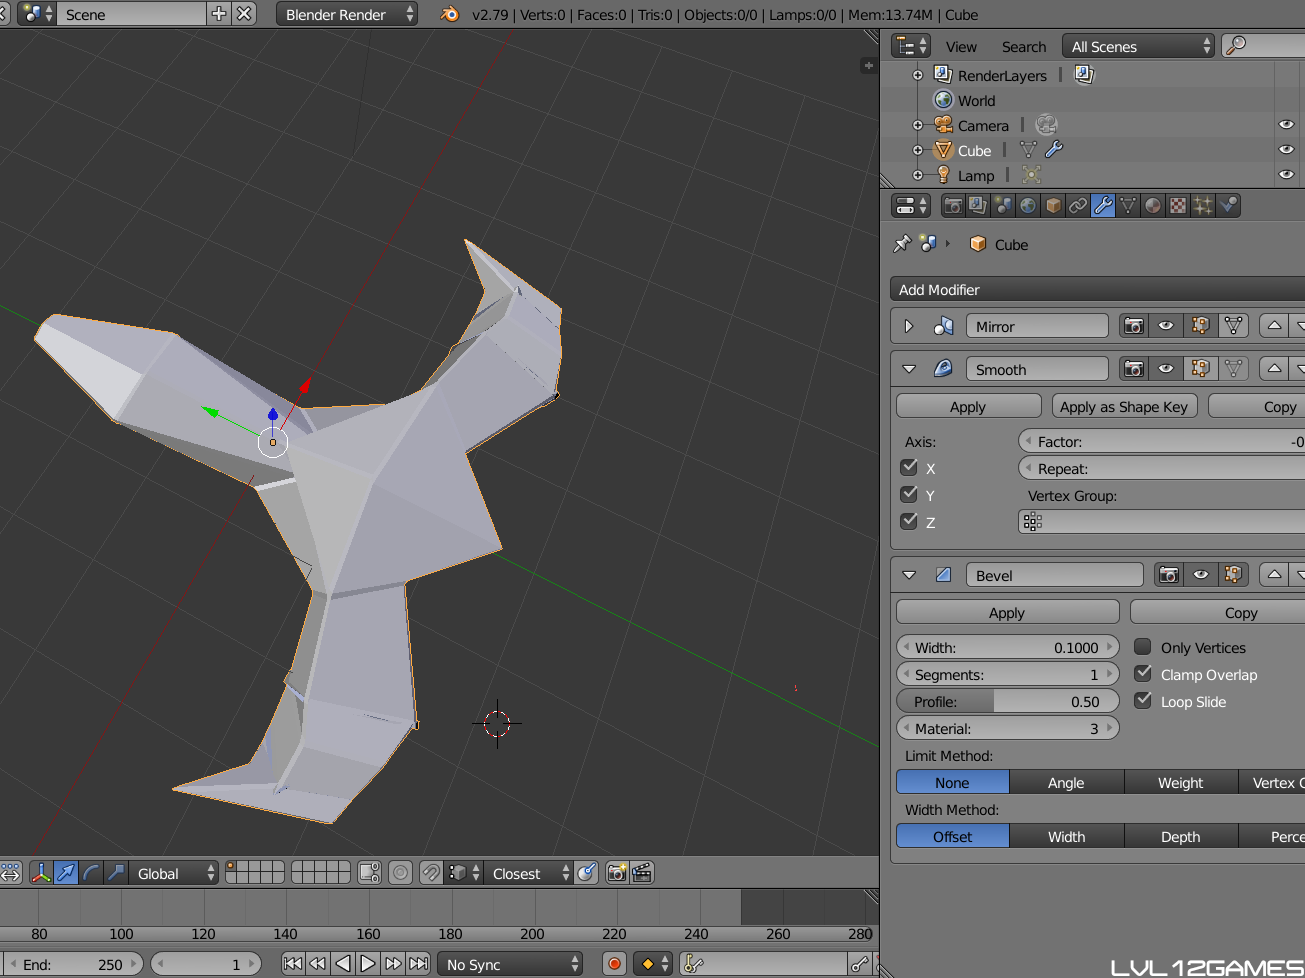
- Click the little wrench in the toolbar below the scene menu. See the image below for reference.
- Select the add modifier drop down below the wrench button and choose “Mirror”.
- Within the new mirror modifier, make sure the “Clipping” option is activated. This will ensure that the mirrored side stays attached to the original side.

Of course, if you want to skip these steps, I’ve included a Blender file containing a mirrored cube, quad, circle, sphere and cylinder in their own layers. Simply click below.
One last thing – ONLY when you are done with the needed mirror effects, should you click “apply” on the mirror modifier. For example, AFTER you have finished modeling and coloring the ship you are designing. Clicking “apply” gives you control of the mirrored side for unique changes to that side. But know that the changes made after clicking “apply” will not be mirrored.
It would also be best to apply the mirror modifier before doing a UV unwrap for any texture baking.
Thanks for reading!
-LVL12GAMES