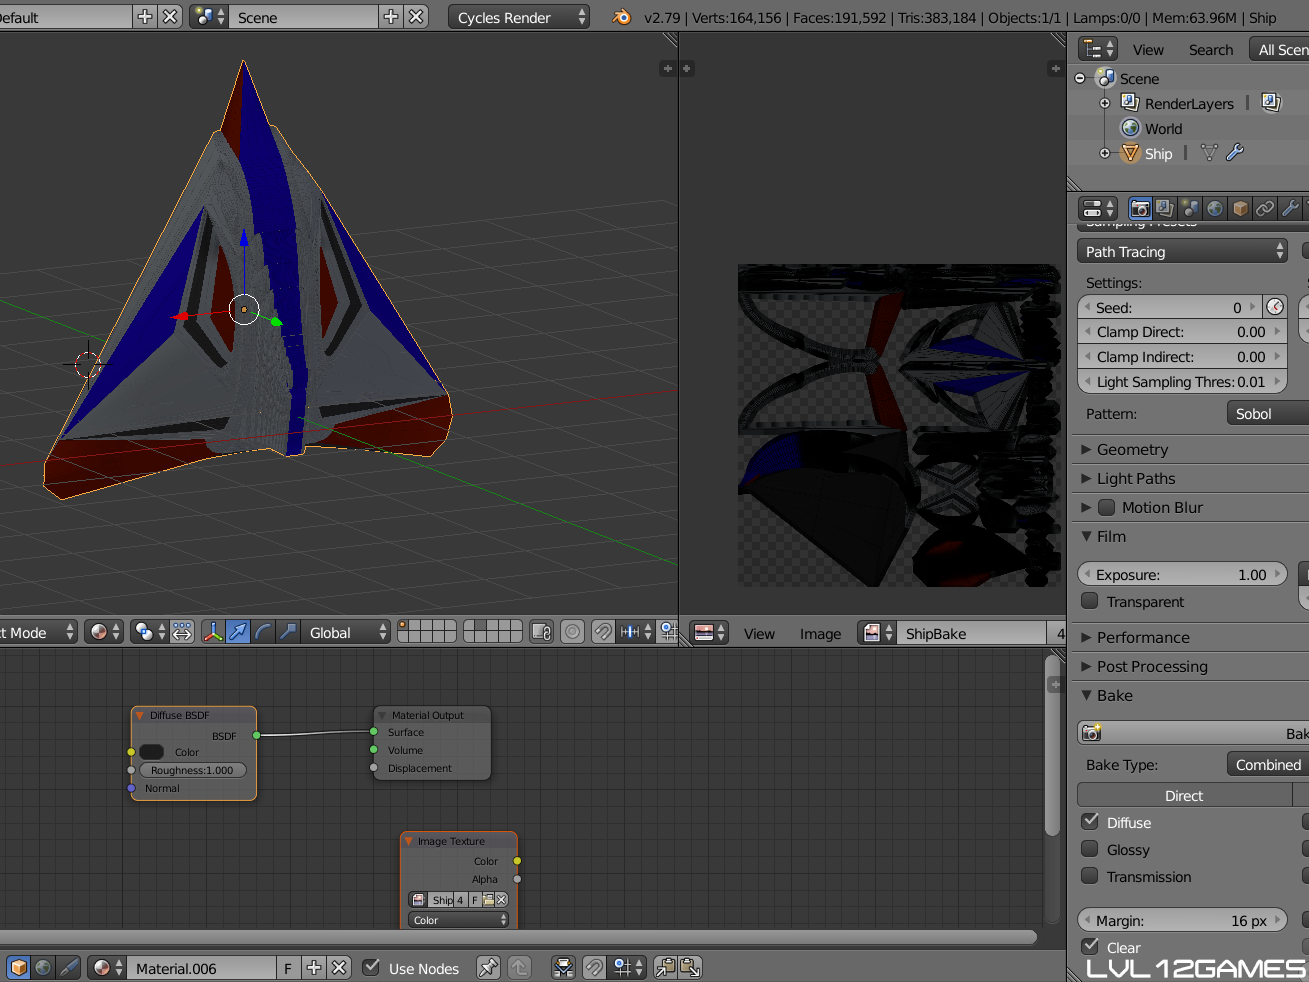
It only takes a few minutes in Blender to realize how many shortcuts and hotkeys are available in the software. There are also a number of tips and options that the beginner user (like me) does not yet know about, but should probably learn. In order to help speed up that learning process, or to provide a refresher for those who already know plenty about Blender, I would like to offer the below cheat sheet of shortcuts and tips.
I plan to use this page as part of my study process involving the software and will update it as I watch more tutorials and learn knew tricks through my own trial and error. I will also be sure to create a separate post with links to any worthwhile tutorials I come across. Hope it helps!
Shortcuts
Items surrounded by carrots denote an item of your choice (e.i. <x, y, z> means choice the key for the axis you want).
Items in quotes denote a specific string to type (ex. “hello”).
Keys will be in all caps (ex. ENTER).
- Rotate object on the x, y or z axis – R + <X, Y, Z> + <number of degrees> + ENTER
- Rotate with mouse – R
- Scale object on the x, y or z axis – S + <X, Y, Z> + <scale size (number)> + ENTER
- Right side view – 3 on keypad
- Rotate view up – 8 on keypad
- Rotate view down – 2 on keypad
- Rotate view clockwise – 4 on keypad
- Rotate view counter-clockwise – 6 on keypad
- Top down view – 7 on keypad
- Toggle to and from edit mode – TAB
- Convert to mesh – ALT + C
- Extrude on x, y or z axis – E + <X, Y, Z> + <number you want to extrude by> + ENTER
- Rotate view with mouse – hold center button on mouse
- Move view with mouse – SHIFT + hold center button on mouse
- Duplicate – SHIFT + D
- Apple scale, rotation, etc. – CTRL + A
- Wire Frame Mode – Z
- Range Selection – B + mouse click and drag over desired range
- Deselect – A (when something is selected)
- Select All – A (when nothing is selected)
- Grab – G
- After pressing G, you can also lock the movement to one of the three axes by pressing X, Y or Z.
- Use the scroll wheel to increase/decrease the area affected by the grab (when in Proportional Editing Mode)
- Extrude Within A Face – E + ESC + S + E
- Split an object – CTRL + R
- UV Unwrap Menu – U
- Add Menu (for adding objects) – SHIFT + A
- Toggle Proportional Editing in Edit Mode – O
- Show/Hide Properties Menu – N
- Make Selection a New Part – P and choose “Selection”
- Open Context Menu – W
- Select Entire Edge – ALT + Left Click
- Invert Selection – CTRL + I
- Hide Selection – H
- Unhide – ALT + H
Tutorials
- Blender Beginner Tutorial
- Author – Blender Guru (YouTube)
- This tutorial is great for a true beginner. Avoid a lot of frustration caused by going it alone and watch a real master (a guru) take you through the steps to create your first project. In a series of videos, he shows you the basic layout of Blender, some of the most important hotkey combos in the software and how to create a realistic donut and coffee scene.
Tiny Tips
- To make a point on an object with a square face- select the “face only” button when in edit mode, select the face you want to turn into a point, then scale it to 0
- To collapse a window, drag the same window expand icon in the opposite direction, over the neighboring window. When the neighboring window lights up (slightly), release. The window you’re removing should disappear.
Check back often for updates to this post!
-LVL12