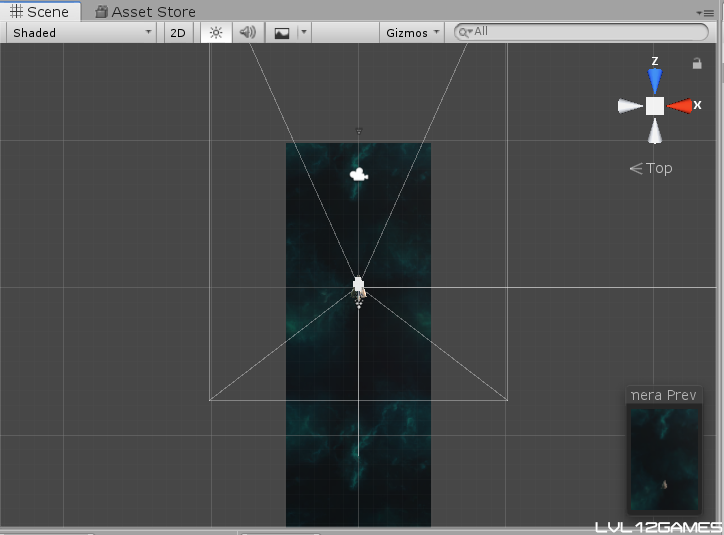
Welcome to the first post of Tips & Tutorials! In this post category, I will offer my tried and tested solutions for things I initially found difficult to do in the game design process. Hopefully these will help you or somebody else out there with their personal endeavors.
This post involves, as the title denotes, in-game screenshots in Unity. When writing posts for Starlight Arcade, I wanted to take in-game pictures for thumbnails, game-play images, etc. and found it more difficult than expected. There was no built-in function in Unity, so I tried out Microsoft’s Game bar, a free system that I got with their OS. However, when using the Game bar, I couldn’t play the game and take a screenshot at will. Pressing any key outside of the Game bar closed it. So if I shot a bolt or even moved the player, the Game bar closed. I’m not sure if it’s just because I didn’t do enough research or the program just didn’t work well with Unity; but I ended up doing this song and dance of getting the player ship in open space, opening the Game bar and hoping the player didn’t get destroyed before I got an image worth capturing.
Needless to say, it wasn’t very effective. So, I turned to code. If you’d like to do the same, do this:
Step 1: Select the main camera in your game and create a new C# script component within it. I named the script “Screenshot”.
Step 2: Insert the below code into the script:
using UnityEngine;
using System.Collections;
using System.IO;
using UnityEngine;

{
	void Update()
	{
	        if (Input.GetKeyDown (KeyCode.P))
		{
		         ScreenCapture.CaptureScreenshot("Screenshot");
		}
	}
}
And it’s as simple as that. This code uses Unity’s ScreenCapture.CaptureScreenshot command (which you can see the documentation for here) to take a screenshot when you press the “P” key. You can change the key to whatever you’d like and, according to the documentation, you can also change the code to take a screenshot on a mouse press.
I have only used this code while in the Unity Game View so far. That being said, after pressing “P”, Unity will capture an image and save it as “Screenshot” in the same project folder the active game is in (the file path is likely different on the final game platform – WebGL, mobile, etc. – so check the same documentation page if you want to know where those images go). Note that you can change the name “Screenshot” to whatever you’d like in the code. Also note that pressing “P” again will overwrite the existing screenshot. So save your image elsewhere before taking another.
Hopefully this tip helps. Check back later for more!
– LVL12