Want to make an image into a material? Want that image to tile seamlessly so you can use the material on whatever size object you want? Read below.
The process begins in Gimp. You can do this in Photoshop too, but I like free.
- Open the image you want to tile in Gimp. Bigger is generally better because you will have to tile less. No matter how seamless the tiling is, if you are far enough away from the object of choice, you will notice a pattern. The idea is to make the distance needed to notice the tiling pattern as large as possible. That distance increases from a number of factors, including a larger source image, a more uniform image (especially in shading) and a more seamlessly tiled image.
- With the image open, click Filters (in the top ribbon), Map, Tile Seamless. Submit through the options. And that’s it for the Gimp side of things. Export that image to a JPEG.
If you want to read more about this from the Gimp documentation, click here.

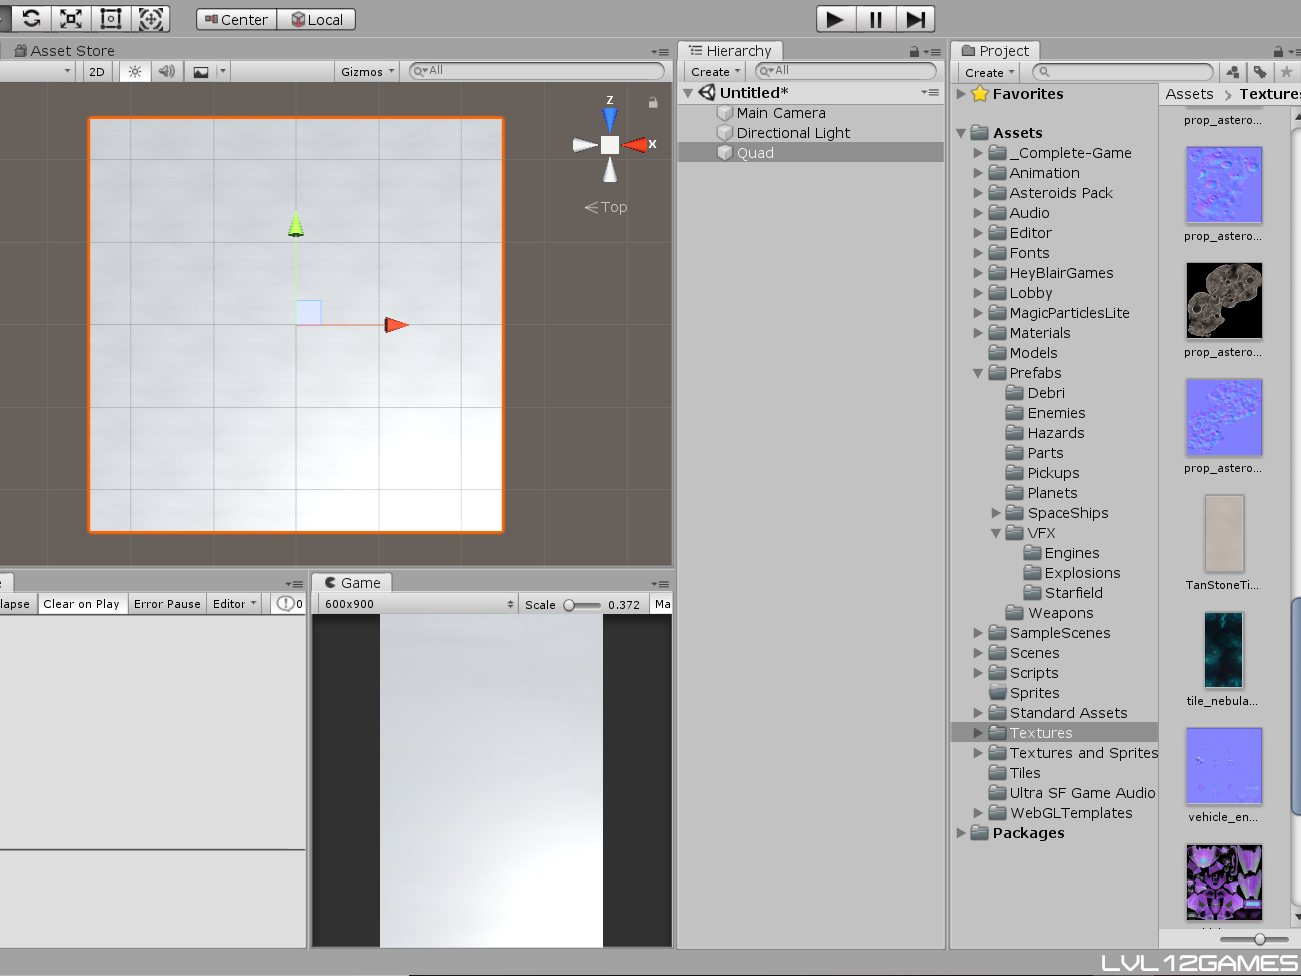
The rest of the process is in Unity, so go ahead and open a scene.
- Open your file explorer and drag the JPEG you just created into your Unity scene. I like to save it in the Textures folder within the project.
- The quickest way to make a material from the new texture is to drag it onto the object of your choice. So do that and Unity will create the material for you.
- Select the object. In the inspector, the shader section will show, as above. Under main maps, you should see your image as the albedo.
- The tiling is what you are looking for (see the blue square in the above image). The texture will tile across X and Y and should default to (1, 1). Increasing that number increases the number of times the image tiles in the object, across each respective axis.
- Play around with the tiling numbers. If the image looks stretched, increase them. If you start to see the tiling pattern, decrease them. If you can’t get a good mix that doesn’t look tiled and/or stretched, try a larger or more seamless and uniformly shaded image. You can also experiment with a more basic image versus a busier image. It might be easier to reduce the pattern with a simpler image, or to hide it in a more complicated one. I used a pretty simple image as a tile in the title image and it hid the pattern pretty well. Note that the quad I placed it on is 5,000 times its initial size to help show the pattern of the tiled texture.
And that’s it. Nice and simple. This is a pretty common requirement for multiple applications, so it only makes sense that Gimp and Unity are well prepared for it.
– LVL12GAMES